The Desert island has two jobs. Only one is required to move on: trade an endangered creature to the tourist for a Carrot, use it to summon the Pufferfish, and bring back its fin. The other, killing a Blue Shark for the Grillmaster, is optional, but it unlocks cooking for the rest of the game and uses the same weapon you need for the Pufferfish, so do it first.
Buy the SMG kit once
Everything on this island is easier with the SMG ($650) from the kiosk. Upgrade its bullets as far as the kiosk allows, add the Extended Mag ($320) for more rounds per reload, and the Compensator ($600) if the recoil throws your aim off. Keep the iron sights; the Laser Sight helps when you fire from the hip while running. An upgraded Shotgun also works if the SMG is out of reach.
Optional first: the Blue Shark and the grill
The Grillmaster stands in an orange apron next to the red grill on the beach. He wants a whole Blue Shark.
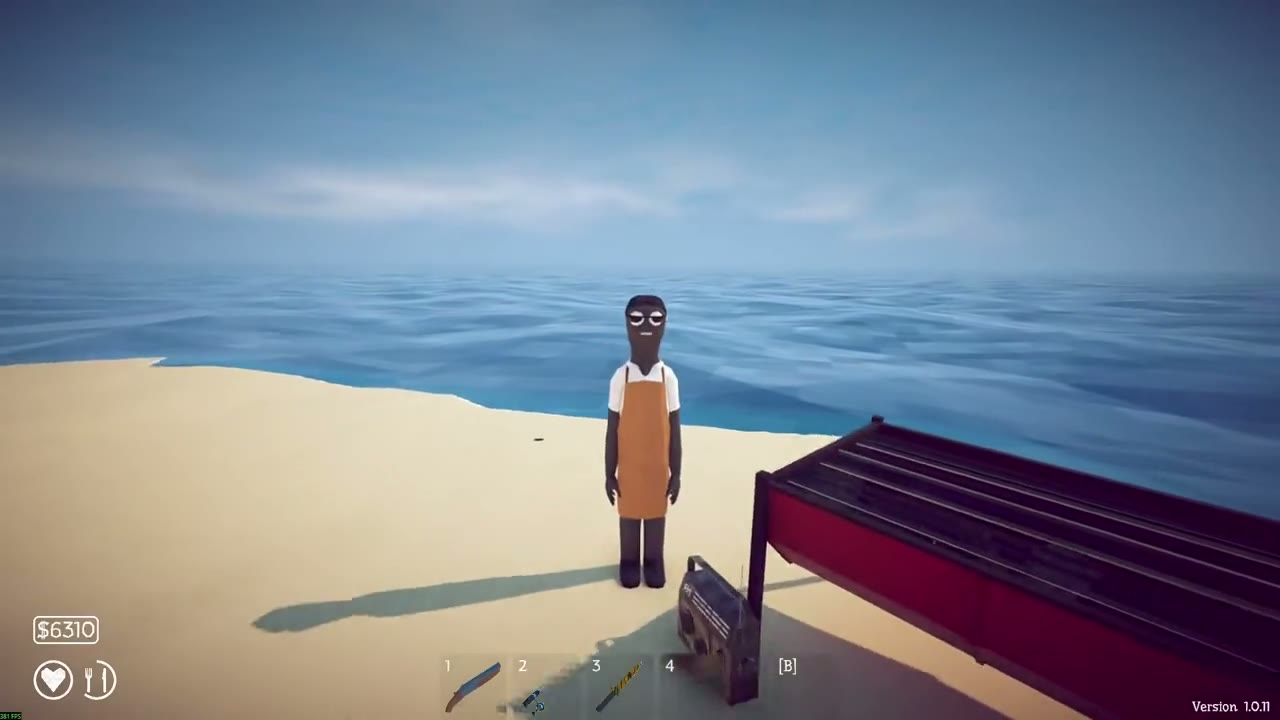
Read the price board at the kiosk and buy the Standard Boss Lure for $280. Do not confuse it with the pink Standard Lure at $15, which only very rarely brings up a shark. Fit the boss lure on the Fishing Rod, cast, and fling the shark to the side as soon as it lands.
The Blue Shark has 2,300 health and lunges in fast straight lines. Pick two palm trees close together, or a palm and a rock, and run tight circles around them while you shoot. Its lunges hit the trunks; running away in a straight line lets it catch you.
Carry the dead shark to the Grillmaster and hold Q to hand it over. He gives you a lighter, the grill lights up, and the Grillmaster achievement unlocks. A Goblin Shark from Island 5 is also accepted if you skipped this.
How the grill works
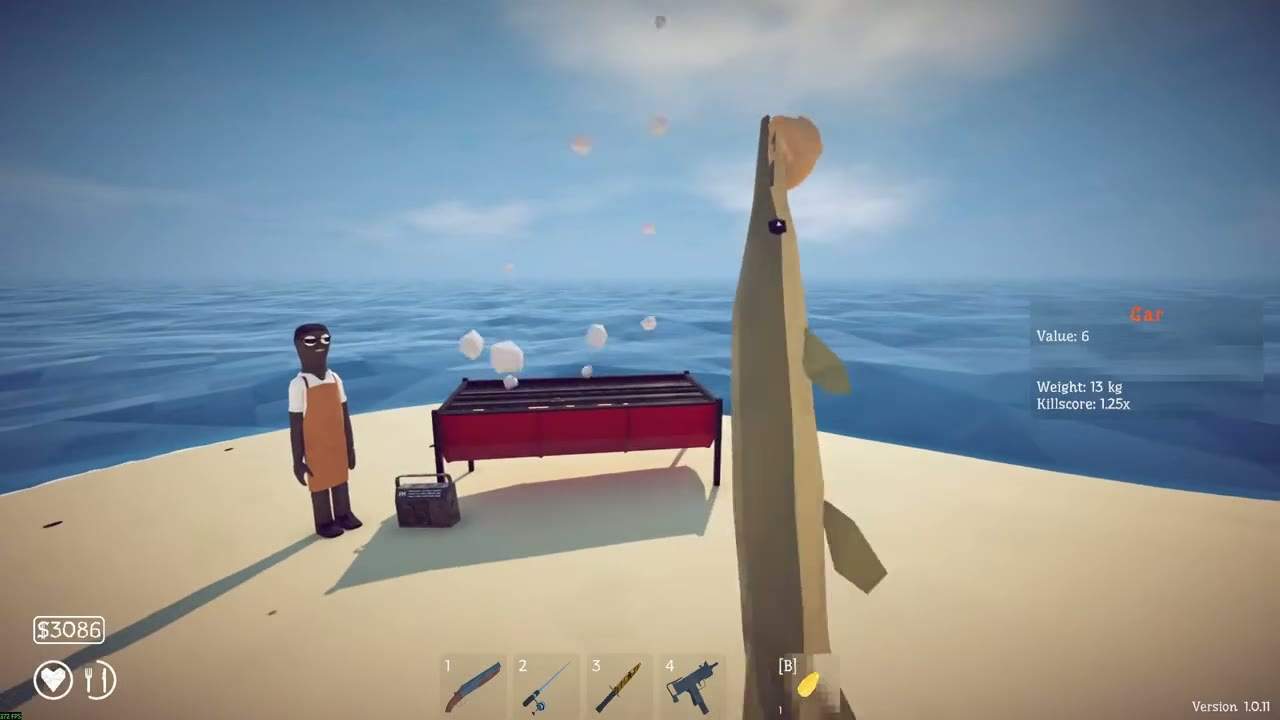
Hold F on any creature to inspect it: you see its value, weight and kill-score multiplier. Hold it over the lit grill and the value climbs while it cooks, up to 1.5 times the raw price. Take it off at the peak. If you keep cooking, the value starts falling and the creature eventually burns; a burnt creature is nearly worthless, though eating one unlocks Yummy in my tummy. Cooked food also heals more when you eat it.
The tourist wants an endangered creature
The quest giver is the tourist in a yellow life jacket sitting against a palm tree. Talk to him and he asks for an endangered creature.
Buy Standard Lures ($15) and fish around the island. Three catches here count as endangered: the Needlefish bites about 10.5% of the time on this lure, and the Seahorse and Bowlfish about 4% each, so expect roughly one useful creature in every five bites. When you kill one, the kill score pops up with "Endangered Species" and a 1.25x bonus; the inspect panel says so too.
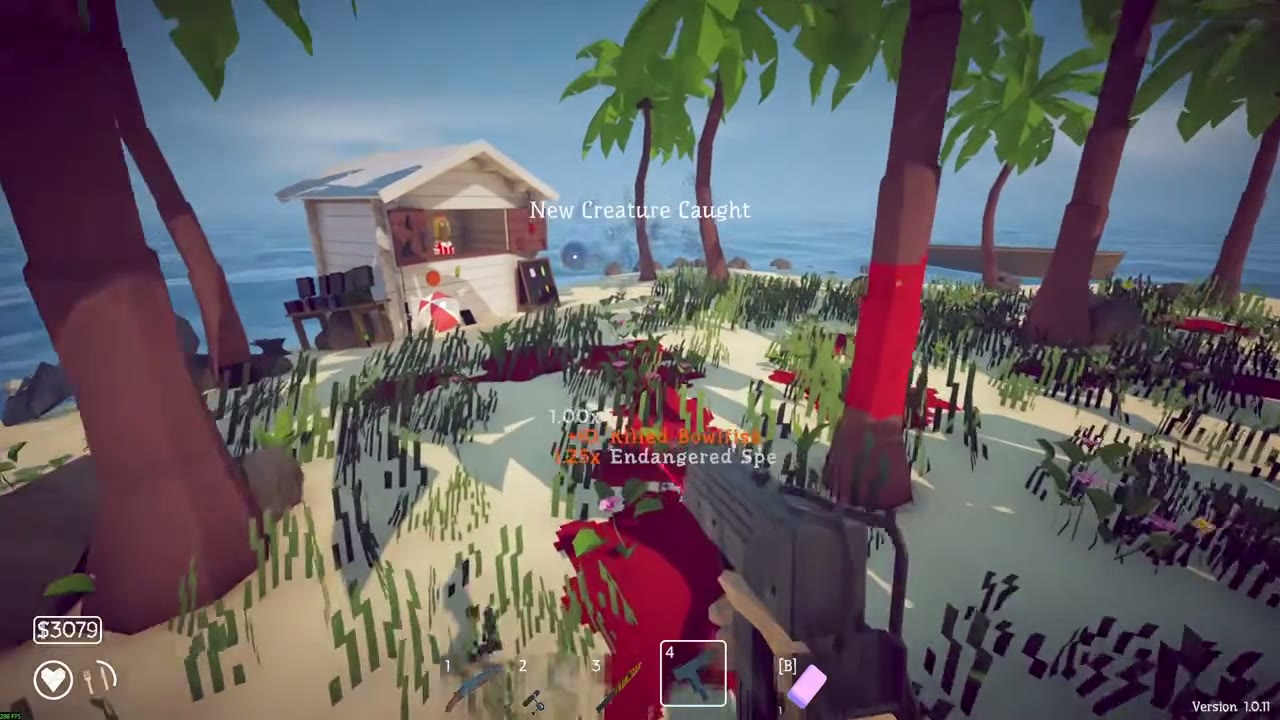
A Drip version (the rainbow-named variant) does not count, even if it is the right species. Throw a normal one at the tourist with Q and he hands you the Carrot.
Prepare the arena
Before casting the Carrot, throw a few lit Dynamite sticks into the water around the beach. The blasts leave dead fish floating close to shore, which you can grab and eat mid-fight instead of opening your inventory.
Some players also stack a large pile of Dynamite on open sand, lure the Pufferfish onto it and set it off with one shot; one report claims about 25 sticks took half its health in one blast. It is expensive, so treat it as an emergency plan.
Fight the Pufferfish
Equip the Carrot on the Fishing Rod, cast, reel it in and drop it on the sand. It rolls at you very fast. At first it is small enough to slip through gaps, so keep circling a pair of trees or a tree and a rock. Every hit makes it bigger, and once it has grown, it wedges itself between the trunks and stays stuck while you empty the SMG into it.
At about half health it starts leaving a purple poison trail. Walking through it drains your health quickly. Switch to a wider circle and watch the ground. It is small again at the start of this phase, so it slips through the trees for a while before it grows big enough to get stuck again.
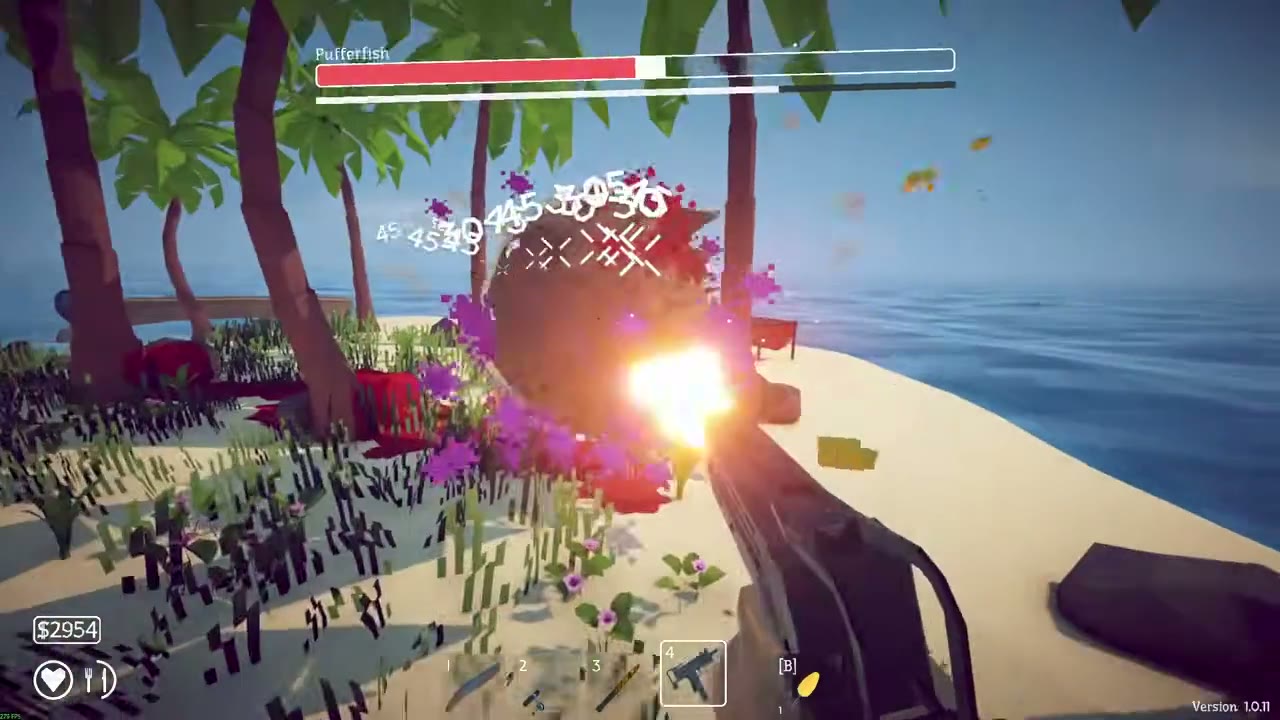
It has 18,000 health on Normal (75% on Easy, 125% on Hard), even after being nerfed in patch 1.0.4, so this is the longest fight so far. Eat the floating fish whenever you dip low. The escape bar under its health bar keeps running.
The fin, the meat and Island 4
The Pufferfish breaks into meat chunks and one small fin from the bottom of its tail. The chunks are worth $200 each (about $300 after grilling) and are good money, but only the Pufferfish Fin completes the quest. It is small and easy to lose in the sand, so look carefully.
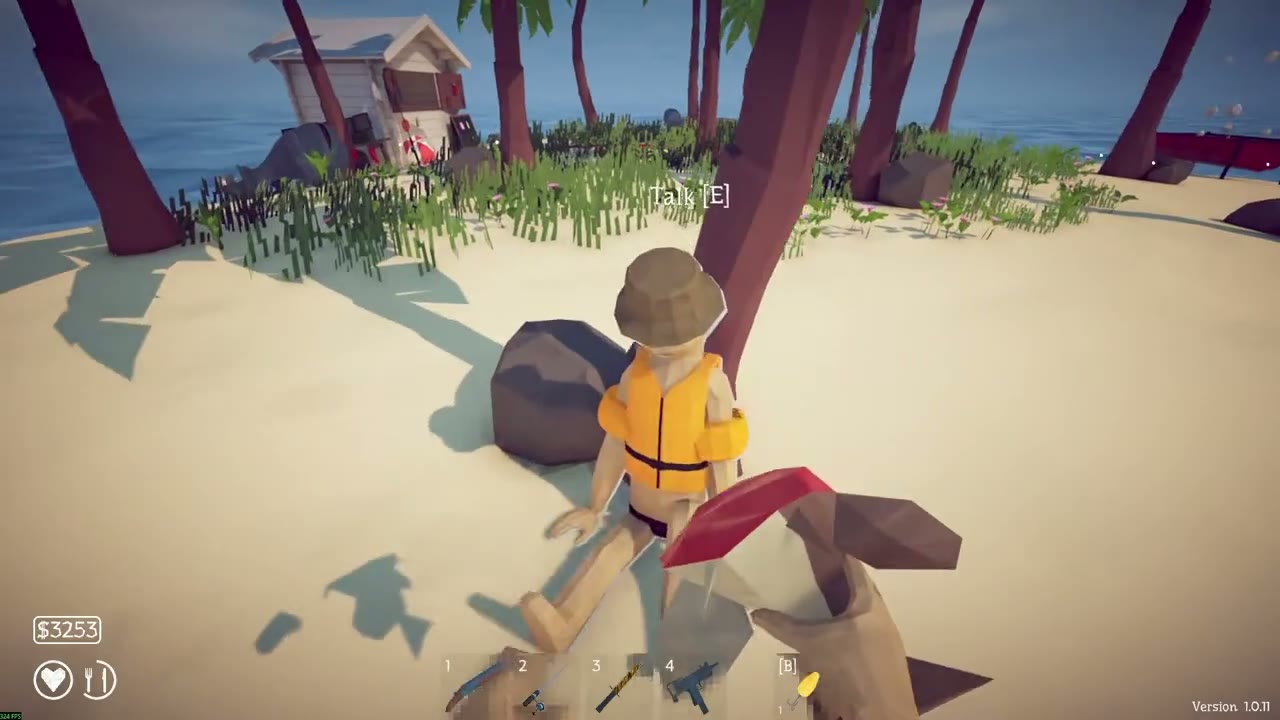
Throw the fin to the tourist. He gives you a flash drive with the coordinates of his home island. On the Radar a red dot appears; for most players it lies straight behind the kiosk.
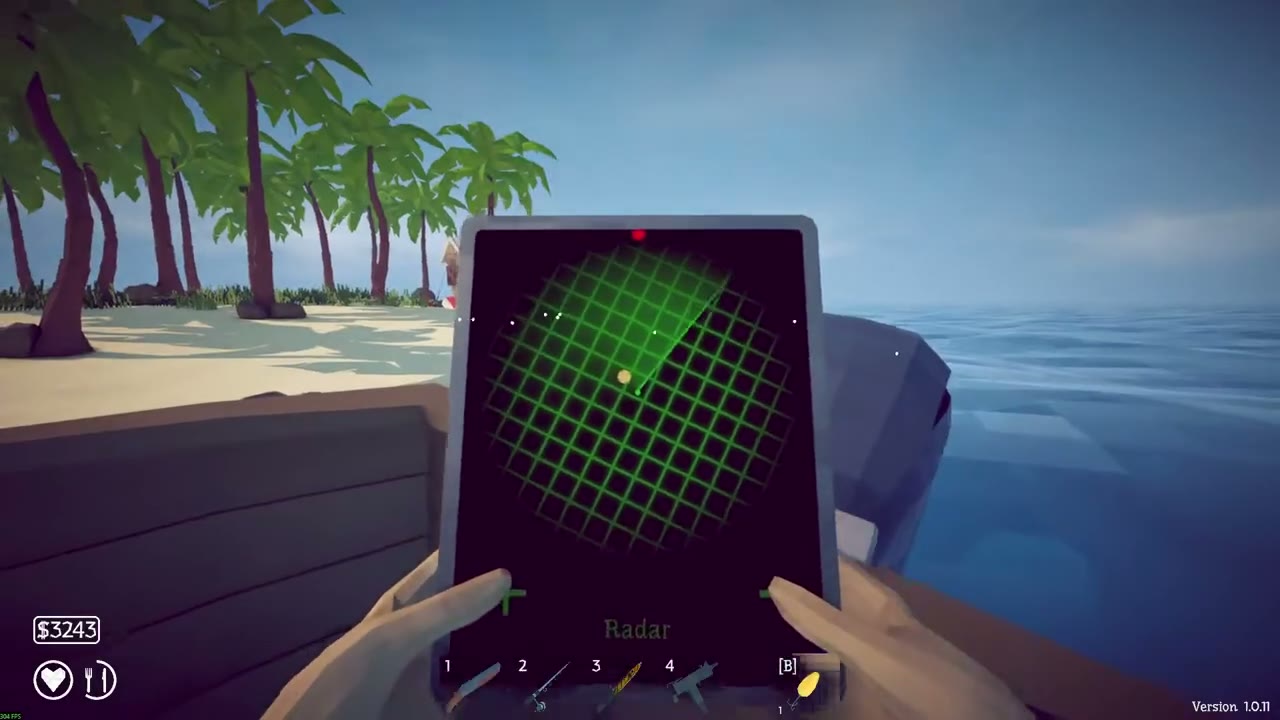
Before you leave, note the Coconut ($350) sold from the central palm grove. It summons the optional Bing Bong fight, covered with the other optional bosses.
Next: Island 4, the Rocks, where a Tuna is the bait for the Albatross.
Source video