How to Fish All Fish: Fishipedia With Bait, Location and Price
Every creature in How to Fish 1.1.3 with where it bites, on which bait, on which rod and what it sells for.
Fishipedia data for How to Fish 1.1.363 creatures (62 Fishipedia entries plus Bing Bong)
What each bait catches| All creatures with island, bait, rod, sell price and endangered status | Island | Bait | Rod | Sell price | Endangered |
|---|---|---|---|---|---|
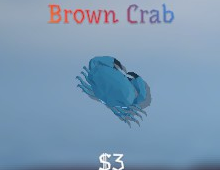 Brown Crab Drip form | Lighthouse (Island 1) | Ham 55.6% | Crab Fishing Rod | $3 | No |
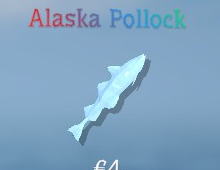 Alaska Pollock Drip form | Crab Carcass mini island (islet) | Crab Carcass 14.7% | Fishing Rod (Crab Carcass) | €4 | No |
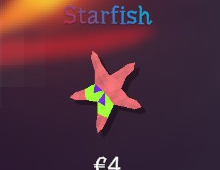 Starfish Drip form | Crab Carcass mini island (islet) | Crab Carcass 8.8% | Fishing Rod (Crab Carcass) | €4 | No |
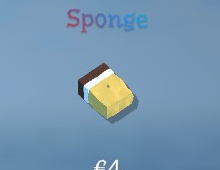 Sponge Drip form | Crab Carcass mini island (islet) | Crab Carcass 8.8% | Fishing Rod (Crab Carcass) | €4 | No |
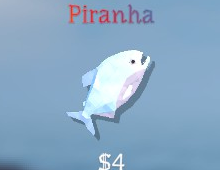 Piranha Drip form | Forest (Island 2) | Beginner Lure 15.4% | Fishing Rod | $4 | No |
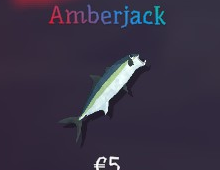 Amberjack Drip form | Crab Carcass mini island (islet) | Crab Carcass 14.7% | Fishing Rod (Crab Carcass) | €5 | No |
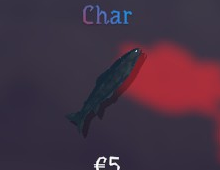 Char Drip form | Crab Carcass mini island (islet) | Crab Carcass 14.7% | Fishing Rod (Crab Carcass) | €5 | No |
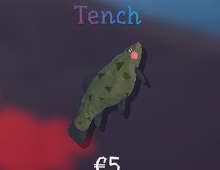 Tench Drip form | Crab Carcass mini island (islet) | Crab Carcass 14.7% | Fishing Rod (Crab Carcass) | €5 | No |
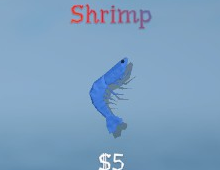 Shrimp Drip form | Lighthouse (Island 1) | Ham 44.4% | Crab Fishing Rod | $5 | No |
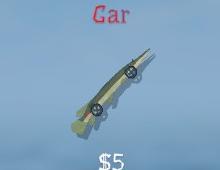 Gar Drip form | Forest (Island 2) | French Fry 40% | Fishing Rod | $5 | No |
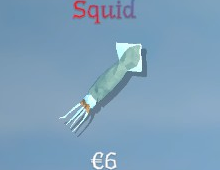 Squid Drip form | Crab Carcass mini island (islet) | Crab Carcass 11.8% | Fishing Rod (Crab Carcass) | €6 | No |
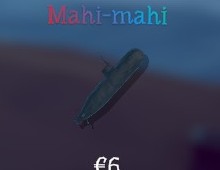 Mahi-Mahi Drip form | Crab Carcass mini island (islet) | Crab Carcass 11.8% | Fishing Rod (Crab Carcass) | €6 | No |
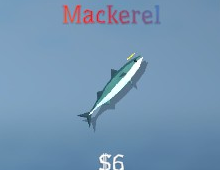 Mackerel Drip form | Forest (Island 2) | French Fry 40% | Fishing Rod | $6 | No |
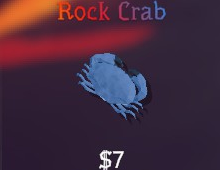 Rock Crab Drip form | Lighthouse (Island 1) | Hot Dog 76.9% | Crab Fishing Rod | $7 | No |
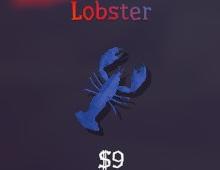 Lobster Drip form | Lighthouse (Island 1) | Hot Dog 23.1% | Crab Fishing Rod | $9 | No |
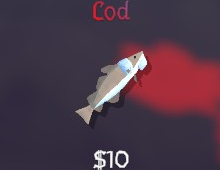 Cod Drip form | Forest (Island 2) | Beginner Lure 15.4% ; empty hook 100% | Fishing Rod | $10 | No |
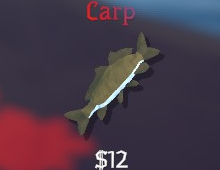 Carp Drip form | Forest (Island 2) | Beginner Lure 12.3% | Fishing Rod | $12 | No |
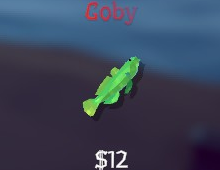 Goby Drip form | Forest (Island 2) | Beginner Lure 7.7% | Fishing Rod | $12 | No |
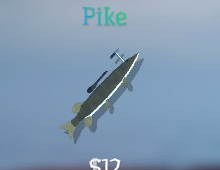 Pike Drip form | Forest (Island 2) | Beginner Lure 15.4% ; French Fry 20% | Fishing Rod | $12 | No |
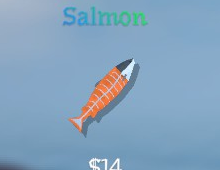 Salmon Drip form | Desert (Island 3) | Beginner Lure 10.8% | Fishing Rod | $14 | No |
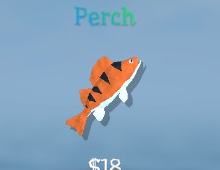 Perch Drip form | Forest (Island 2) | Beginner Lure 7.7% | Fishing Rod | $18 | No |
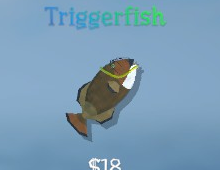 Triggerfish Drip form | Forest (Island 2) | Beginner Lure 7.7% | Fishing Rod | $18 | No |
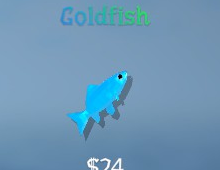 Goldfish Drip form | Forest (Island 2) | Beginner Lure 6.2% | Fishing Rod | $24 | No |
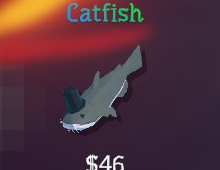 Catfish Drip form | Desert (Island 3) | Standard Lure 15.8% | Fishing Rod | $46 | No |
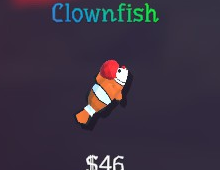 Clownfish Drip form | Desert (Island 3) | Standard Lure 7.9% | Fishing Rod | $46 | No |
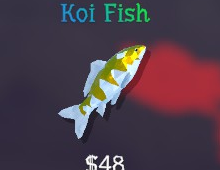 Koi Fish Drip form | Desert (Island 3) | Standard Lure 9.2% | Fishing Rod | $48 | No |
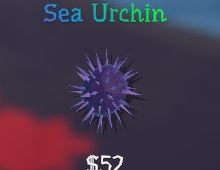 Sea Urchin Drip form | Desert (Island 3) | Standard Lure 13.2% | Fishing Rod | $52 | No |
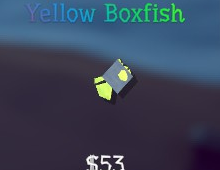 Yellow Boxfish Drip form | Desert (Island 3) | Standard Lure 10.5% | Fishing Rod | $53 | No |
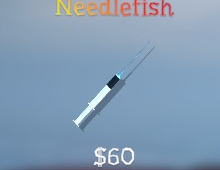 Needlefish Drip form | Desert (Island 3) | Standard Lure 10.5% | Fishing Rod | $60 | Yes (x1.25 kill score) |
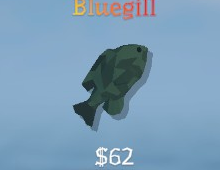 Bluegill Drip form | Desert (Island 3) | Standard Lure 13.2% | Fishing Rod | $62 | No |
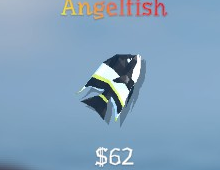 Angelfish Drip form | Desert (Island 3) | Standard Lure 10.5% | Fishing Rod | $62 | No |
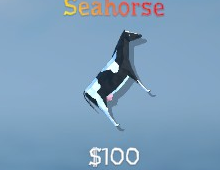 Seahorse Drip form | Desert (Island 3) | Standard Lure 4.0% ; Professional Lure 1.2% | Fishing Rod | $100 | Yes (x1.25 kill score) |
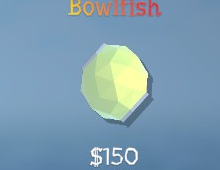 Bowlfish Drip form | Desert (Island 3) | Standard Lure 4.0% | Fishing Rod | $150 | Yes (x1.25 kill score) |
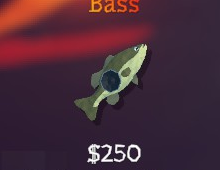 Bass Drip form | Rocks (Island 4) | Professional Lure 11.9% | Fishing Rod | $250 | No |
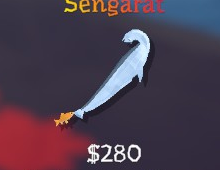 Sengarat Drip form | Rocks (Island 4) | Professional Lure 11.9% | Fishing Rod | $280 | No |
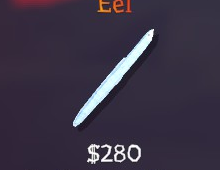 Eel Drip form | Rocks (Island 4) | Professional Lure 6.0% | Fishing Rod | $280 | No |
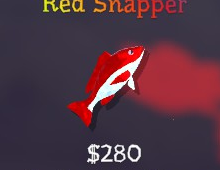 Red Snapper Drip form | Rocks (Island 4) | Professional Lure 11.9% | Fishing Rod | $280 | No |
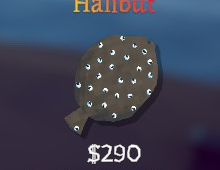 Halibut Drip form | Rocks (Island 4) | Professional Lure 11.9% | Fishing Rod | $290 | No |
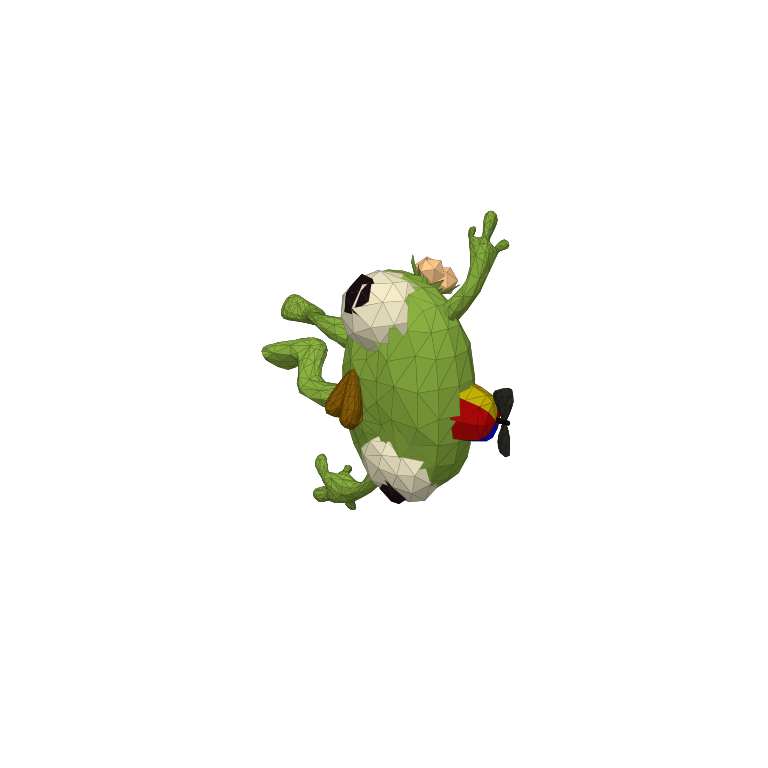 Bing Bong Boss Drip form | Desert (Island 3) | Coconut 100% | Not verified | $300 | Yes (x1.25 kill score) |
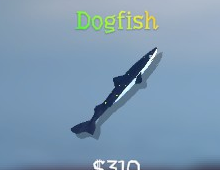 Dogfish Drip form | Rocks (Island 4) | Professional Lure 7.1% | Fishing Rod | $310 | No |
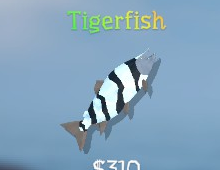 Tigerfish Drip form | Rocks (Island 4) | Professional Lure 11.9% | Fishing Rod | $310 | No |
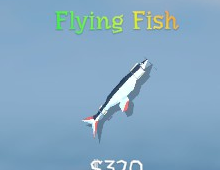 Flying Fish Drip form | Rocks (Island 4) | Professional Lure 6.0% | Fishing Rod | $320 | No |
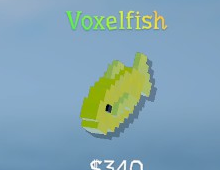 Voxelfish Drip form | Rocks (Island 4) | Professional Lure 3.6% | Fishing Rod | $340 | Yes (x1.25 kill score) |
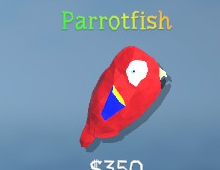 Parrotfish Drip form | Rocks (Island 4) | Professional Lure 11.9% | Fishing Rod | $350 | No |
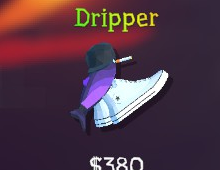 Dripper Drip form | Rocks (Island 4) | Professional Lure 3.6% | Fishing Rod | $380 | Yes (x1.25 kill score) |
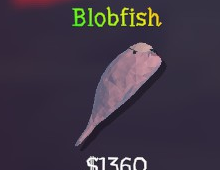 Blobfish Drip form | Volcano (Island 5) | Scientific Lure 21.7% | Fishing Rod | $1360 | No |
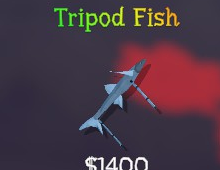 Tripod Fish Drip form | Volcano (Island 5) | Scientific Lure 13.0% | Fishing Rod | $1400 | No |
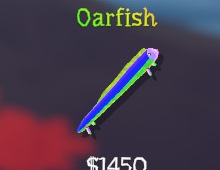 Oarfish Drip form | Volcano (Island 5) | Scientific Lure 13.0% | Fishing Rod | $1450 | Yes (x1.25 kill score) |
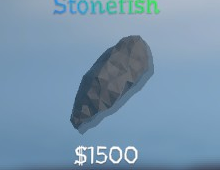 Stonefish Drip form | Volcano (Island 5) | Scientific Lure 21.7% | Fishing Rod | $1500 | No |
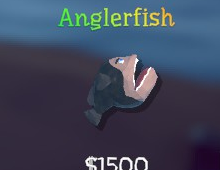 Anglerfish Drip form | Volcano (Island 5) | Scientific Lure 21.7% | Fishing Rod | $1500 | No |
 Superdwarf Fish Drip form | Volcano (Island 5) | Scientific Lure 8.7% | Fishing Rod | $2200 | Yes (x1.25 kill score) |
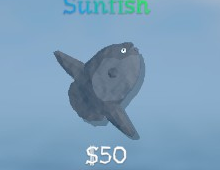 Sunfish Boss | Forest (Island 2) | Beginner Boss Lure 50% ; Beginner Lure 1.5% | Fishing Rod | $50 | No |
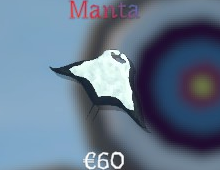 Manta Boss | Manta barrel mini island (islet) | Not hooked by bait: a barrel sunk off a mini island | €60 | No | |
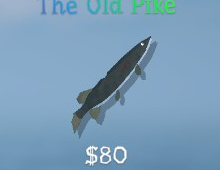 The Old Pike Boss | Forest (Island 2) | Beginner Boss Lure 50% | Fishing Rod | $80 | No |
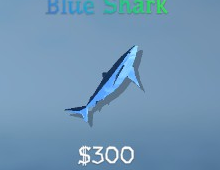 Blue Shark Boss | Desert (Island 3) | Standard Boss Lure 100% ; Standard Lure 1.3% | Fishing Rod | $300 | No |
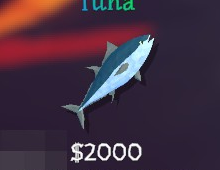 Tuna Boss | Rocks (Island 4) | Professional Boss Lure 100% ; Professional Lure 1.2% | Fishing Rod | $2000 | No |
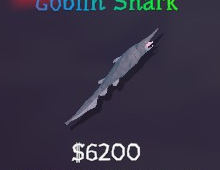 Goblin Shark Boss | Volcano (Island 5) | Scientific Boss Lure 100% | Fishing Rod | $6200 | No |
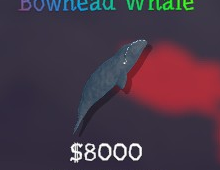 Bowhead Whale Boss | Volcano (Island 5) | Fish Bucket 100% ( from the Whale NPC ) | Fishing Rod | $8000 | No |
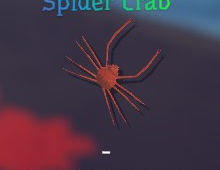 Spider Crab Boss | Lighthouse (Island 1) | Empty Beer Can 100% ( from the Lighthouse NPC ) | Crab Fishing Rod | Not sold whole | No |
| Sell price Not sold whole: the 1.1.3 Fishipedia shows no price (-) for this boss; the fight drops a quest item and meat chunks instead (game data lists a nominal $10000 that players never receive). | |||||
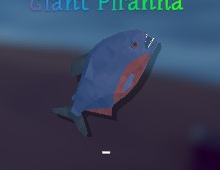 Giant Piranha Boss | Forest (Island 2) | Leech Bait 100% ( from the Swamp Daughter ) | Fishing Rod | Not sold whole | No |
| Sell price Not sold whole: the 1.1.3 Fishipedia shows no price (-) for this boss; the fight drops a quest item and meat chunks instead (game data lists a nominal $11000 that players never receive). | |||||
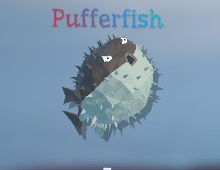 Pufferfish Boss | Desert (Island 3) | Carrot 100% ( from the Pufferfish NPC ) | Fishing Rod | Not sold whole | Yes (x1.25 kill score) |
| Sell price Not sold whole: the 1.1.3 Fishipedia shows no price (-) for this boss; the fight drops a quest item and meat chunks instead (game data lists a nominal $12000 that players never receive). | |||||
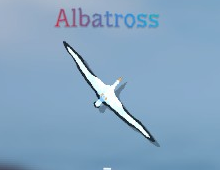 Albatross Boss | Rocks (Island 4) | Not hooked by bait: a Tuna left at the Albatross spot | Not sold whole | No | |
| Sell price Not sold whole: the 1.1.3 Fishipedia shows no price (-) for this boss; the fight drops a quest item and meat chunks instead (game data lists a nominal $13000 that players never receive). | |||||
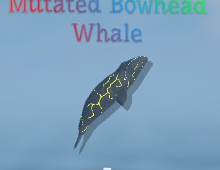 Mutated Bowhead Whale Boss | Volcano (Island 5) | Not hooked by bait: a dead Bowhead Whale thrown in the volcano | Not sold whole | No | |
| Sell price Not sold whole: the 1.1.3 Fishipedia shows no price (-) for this boss; the fight drops a quest item and meat chunks instead (game data lists a nominal $15000 that players never receive). | |||||
- Drip form Yes: 10% drip chance when hooked (up to 25% with Wishbone)
- Yes: a red drip Bing Bong is documented; not counted in the Fishipedia
- Listed with a drip entry in the 1.1.3 Fishipedia (62/62 drip); the GamesOMG data read says bosses are excluded from the hook-time drip roll, so how a boss drip entry is earned is not documented
No creature matches these filters.
What each bait catches
 Hot DogCost: $1
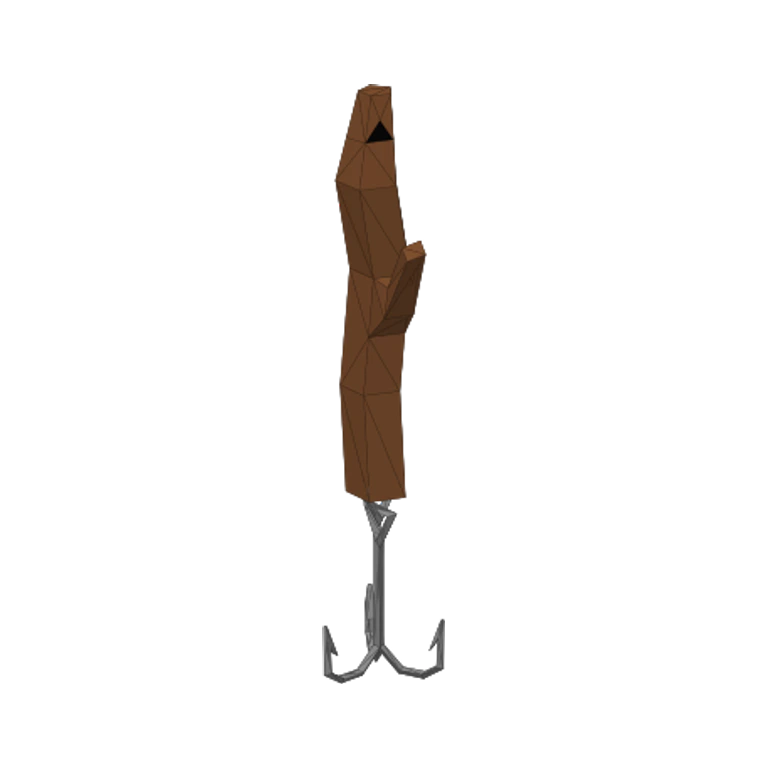 Beginner LureCost: $3
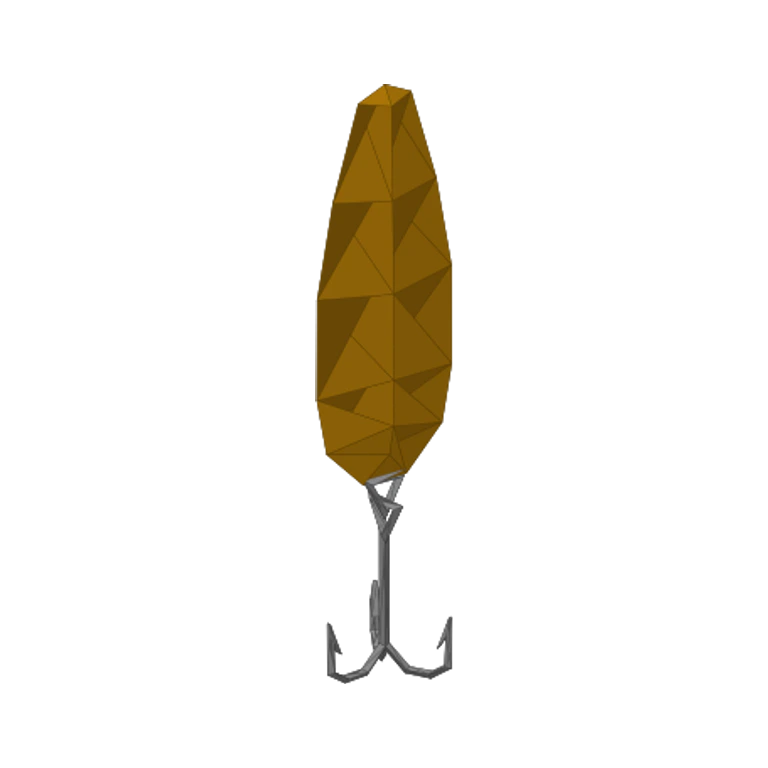 Beginner Boss LureCost: $40
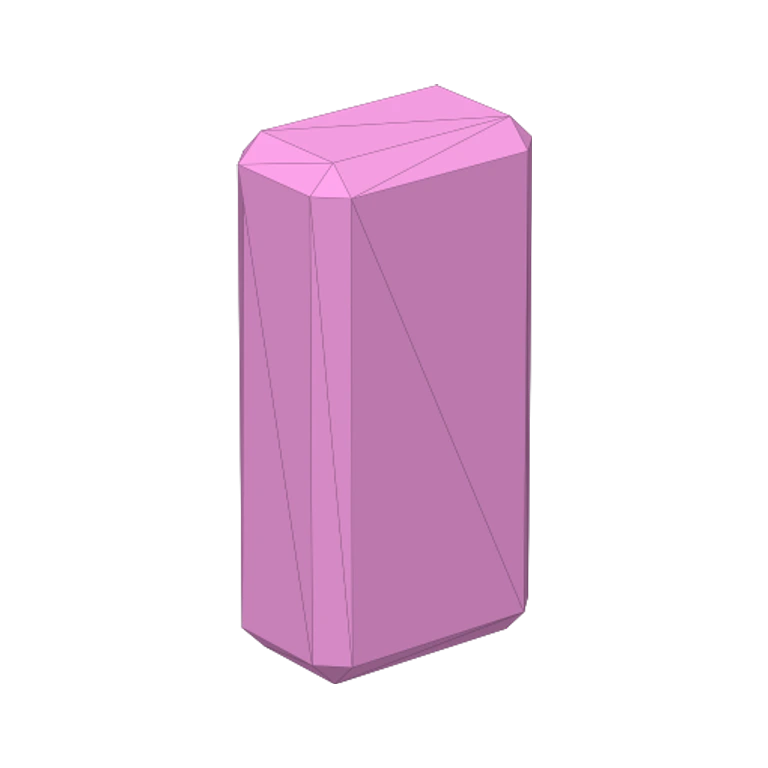 Standard LureCost: $15
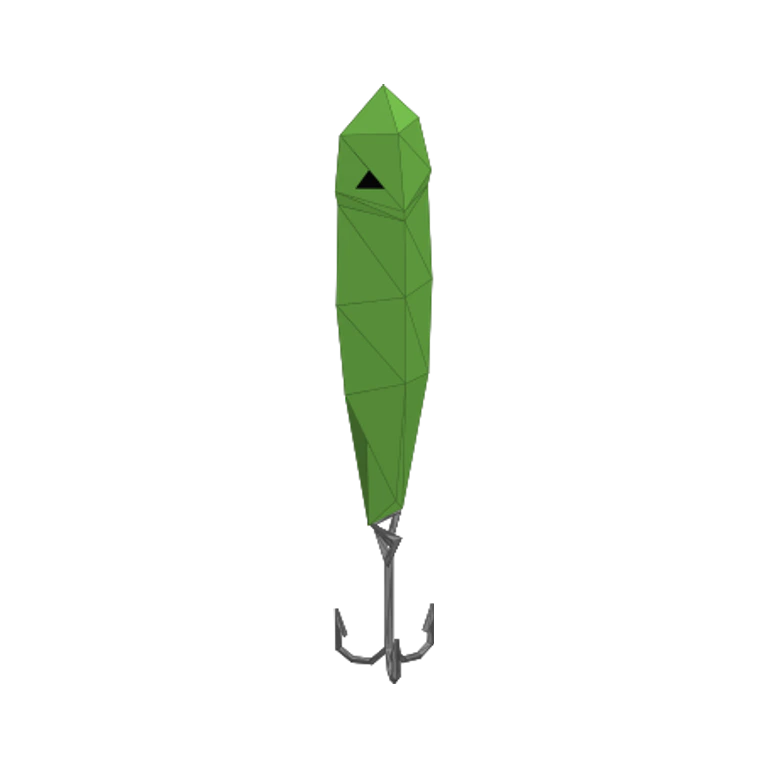 Standard Boss LureCost: $280
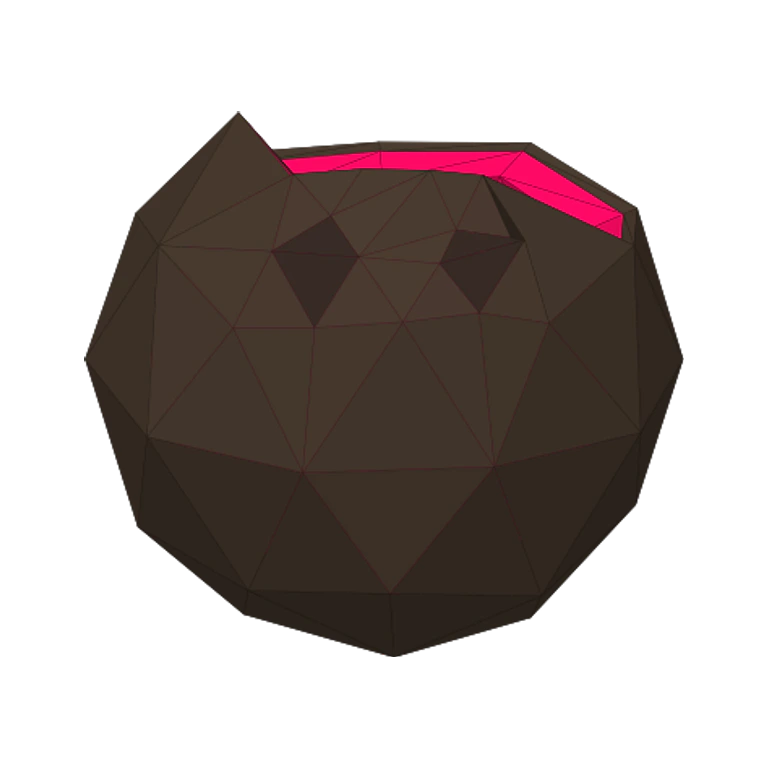 CoconutCost: $350
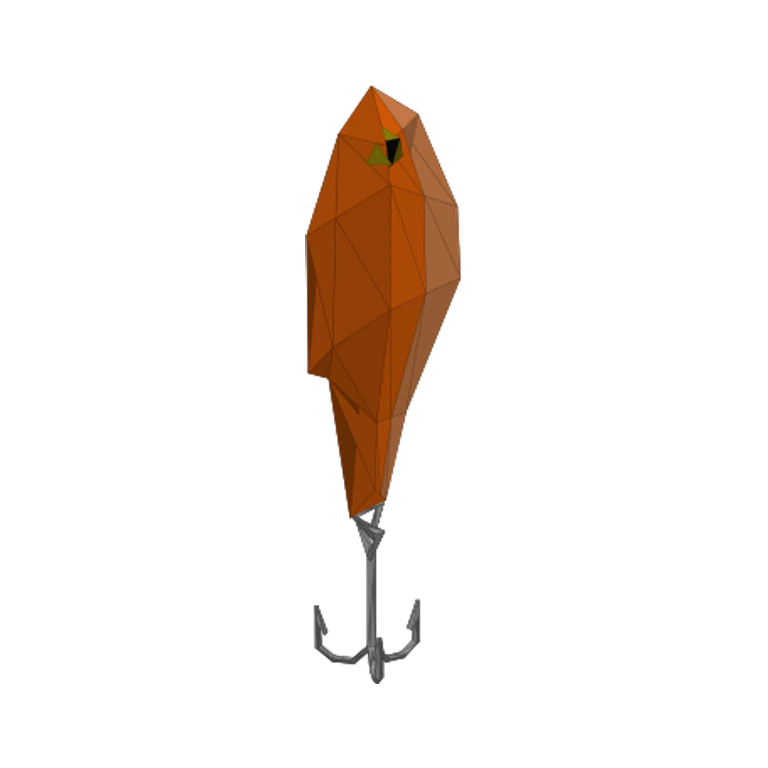 Professional LureCost: $50
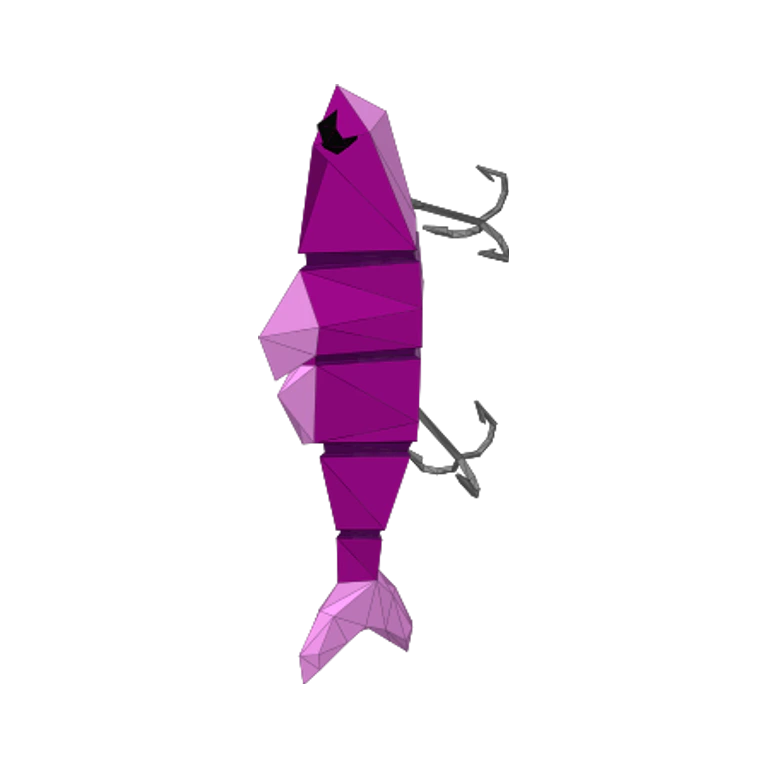 Professional Boss LureCost: $1200
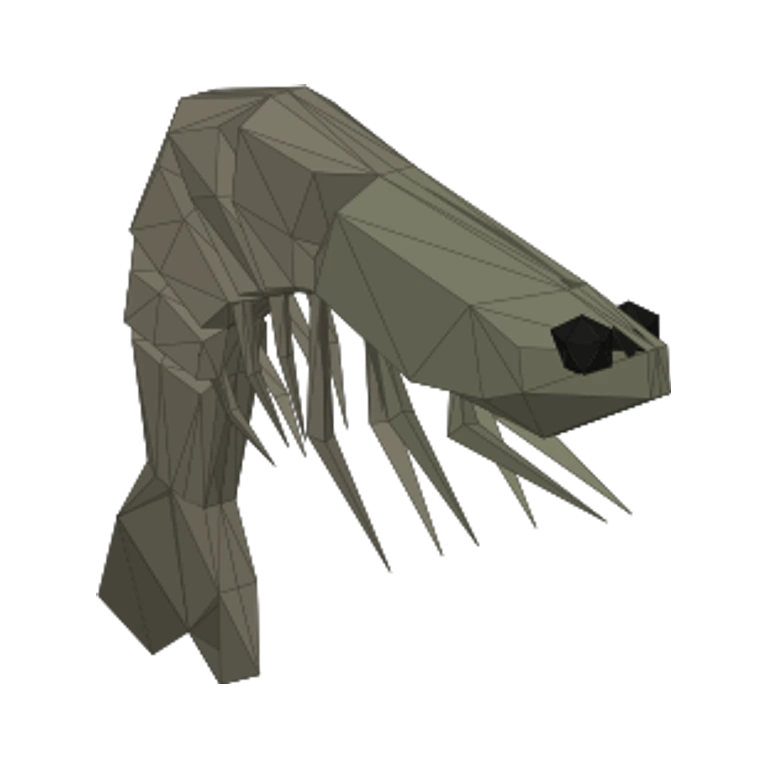 Scientific LureCost: $500
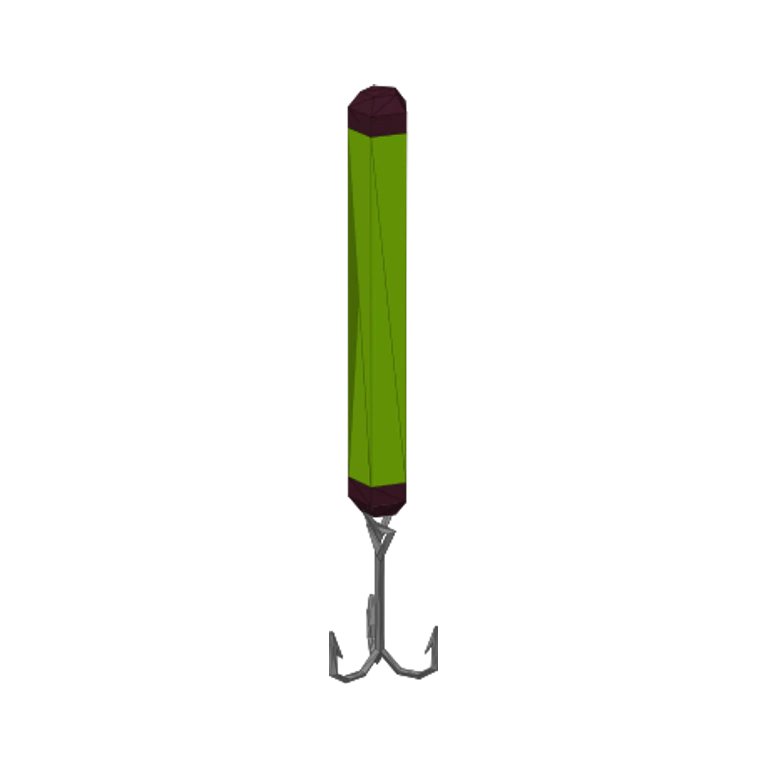 Scientific Boss LureCost: $5800
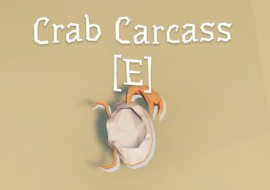 Crab CarcassCost: Not sold
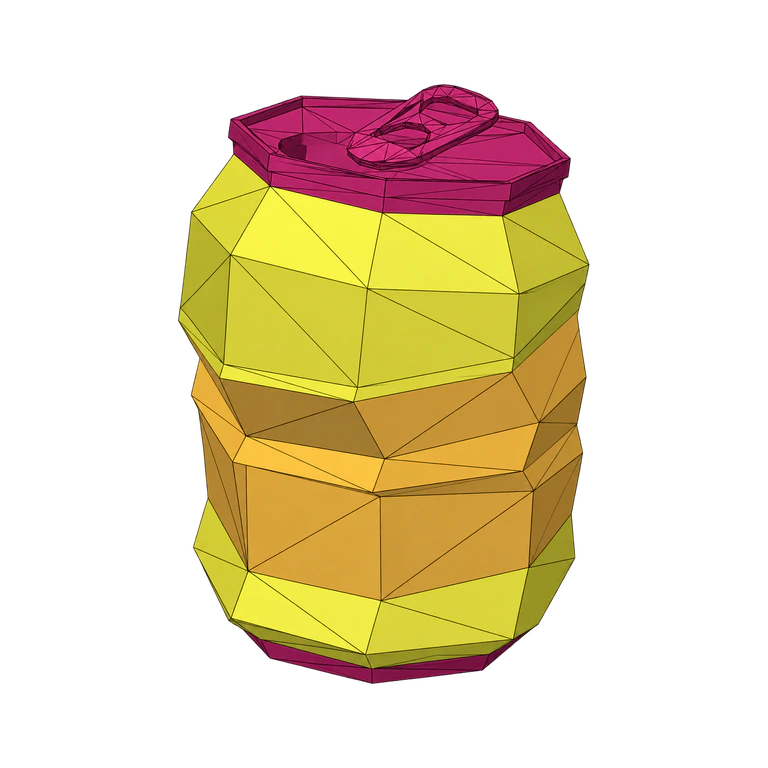 Empty Beer CanCost: $8
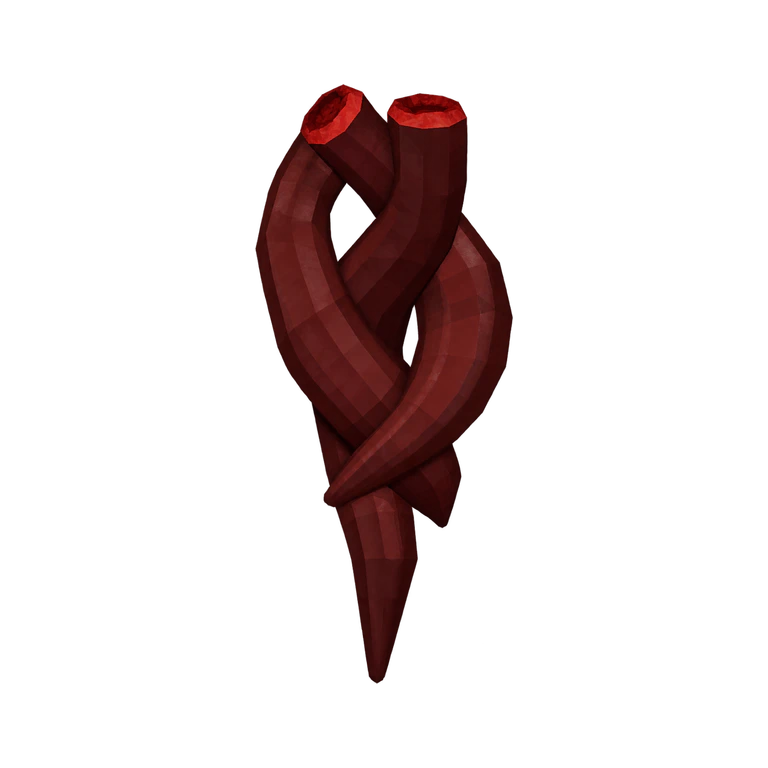 Leech BaitCost: $1
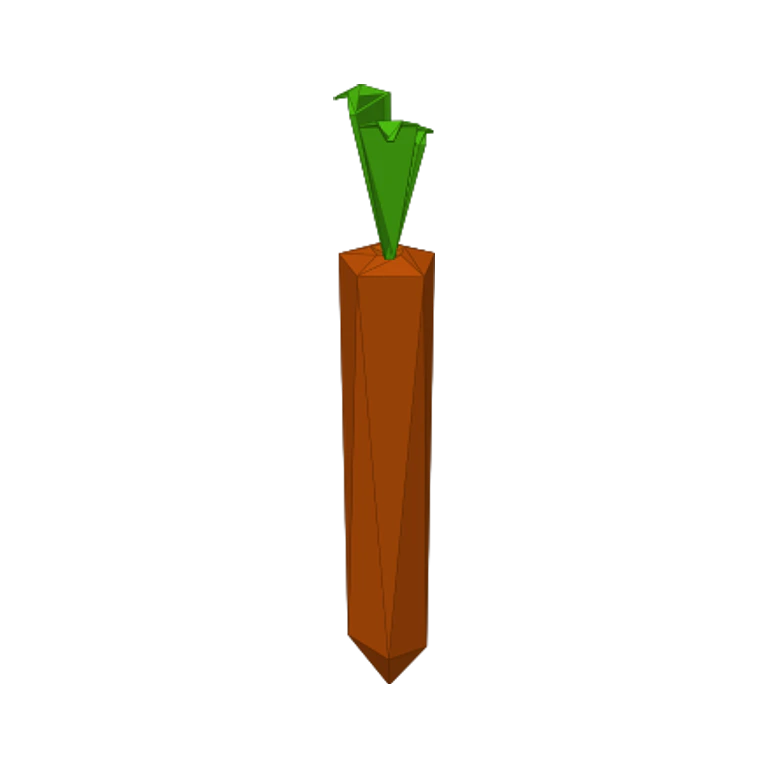 CarrotCost: $100
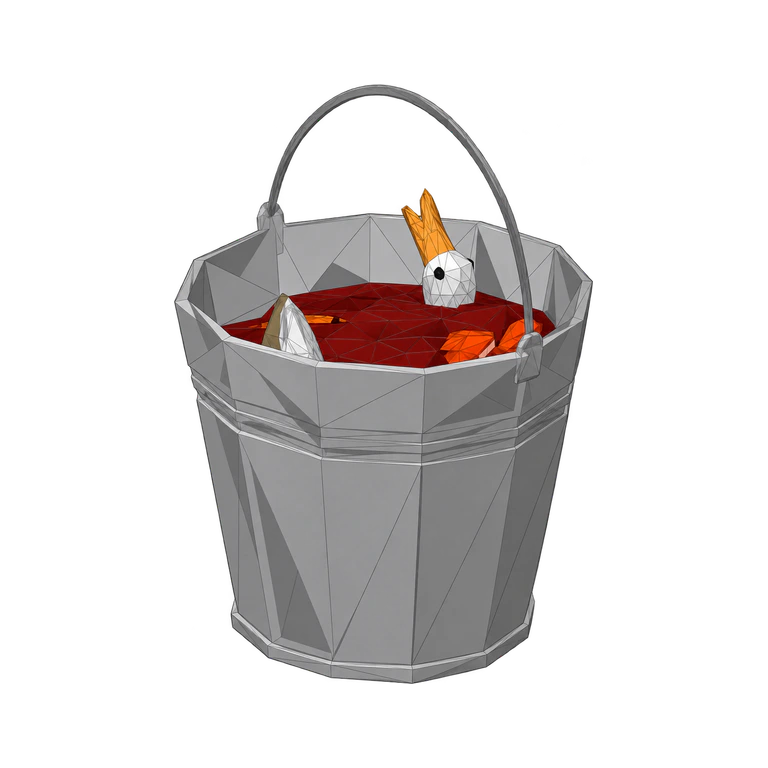 Fish BucketCost: Free
Fish locations and bait by island
The 1.1.3 Fishipedia has 62 entries. This list shows all of them plus Bing Bong, the Coconut Easter egg that exists in the game but has no Fishipedia entry, for 63 creatures in total.
Older lists stop at 45 to 49 fish because they predate the Islet Update, which added the eight Crab Carcass catches and the Manta.
Each creature is listed for the island where you first meet it, but the bait decides what bites, not the island. A lure fished anywhere brings up its own fixed pool, so the bait column is the one to filter by.
Most catches come from seven pools: Ham and the Hot Dog on the Crab-Fishing Rod, French Fry, the Beginner, Standard, Professional and Scientific Lures on the long Fishing Rod, and the Crab Carcass for the euro catches. Bosses come from boss lures or quest baits.
Endangered fish in How to Fish
Endangered creatures give a 1.25x kill-score bonus. They are the Needlefish, Seahorse and Bowlfish (Standard Lure), the Voxelfish and Dripper (Professional Lure), the Oarfish and Superdwarf Fish (Scientific Lure), Bing Bong and the Pufferfish.
The Desert tourist trades the Carrot for one of them; the Needlefish is the easiest to catch.
All drip fish and the Fishipedia achievement
Every regular creature has a drip form: each hooked catch has a 10% chance of being one, raised to 25% by the Wishbone. Explosion kills never produce drips.
Killing every drip form unlocks the Fishipedia achievement; the boss entries' drip forms are listed in the game, but how they are earned is not documented.